Chicken season is coming, and about this time two years ago we were scouting free wood piles and picking up all sorts of pallets that local businesses tossed to the curb. Sure, they can use wood recycling, but a lot of places just keep bins of wood, which is not only amazing for your wood fire, but it can be upcycled into projects like this!


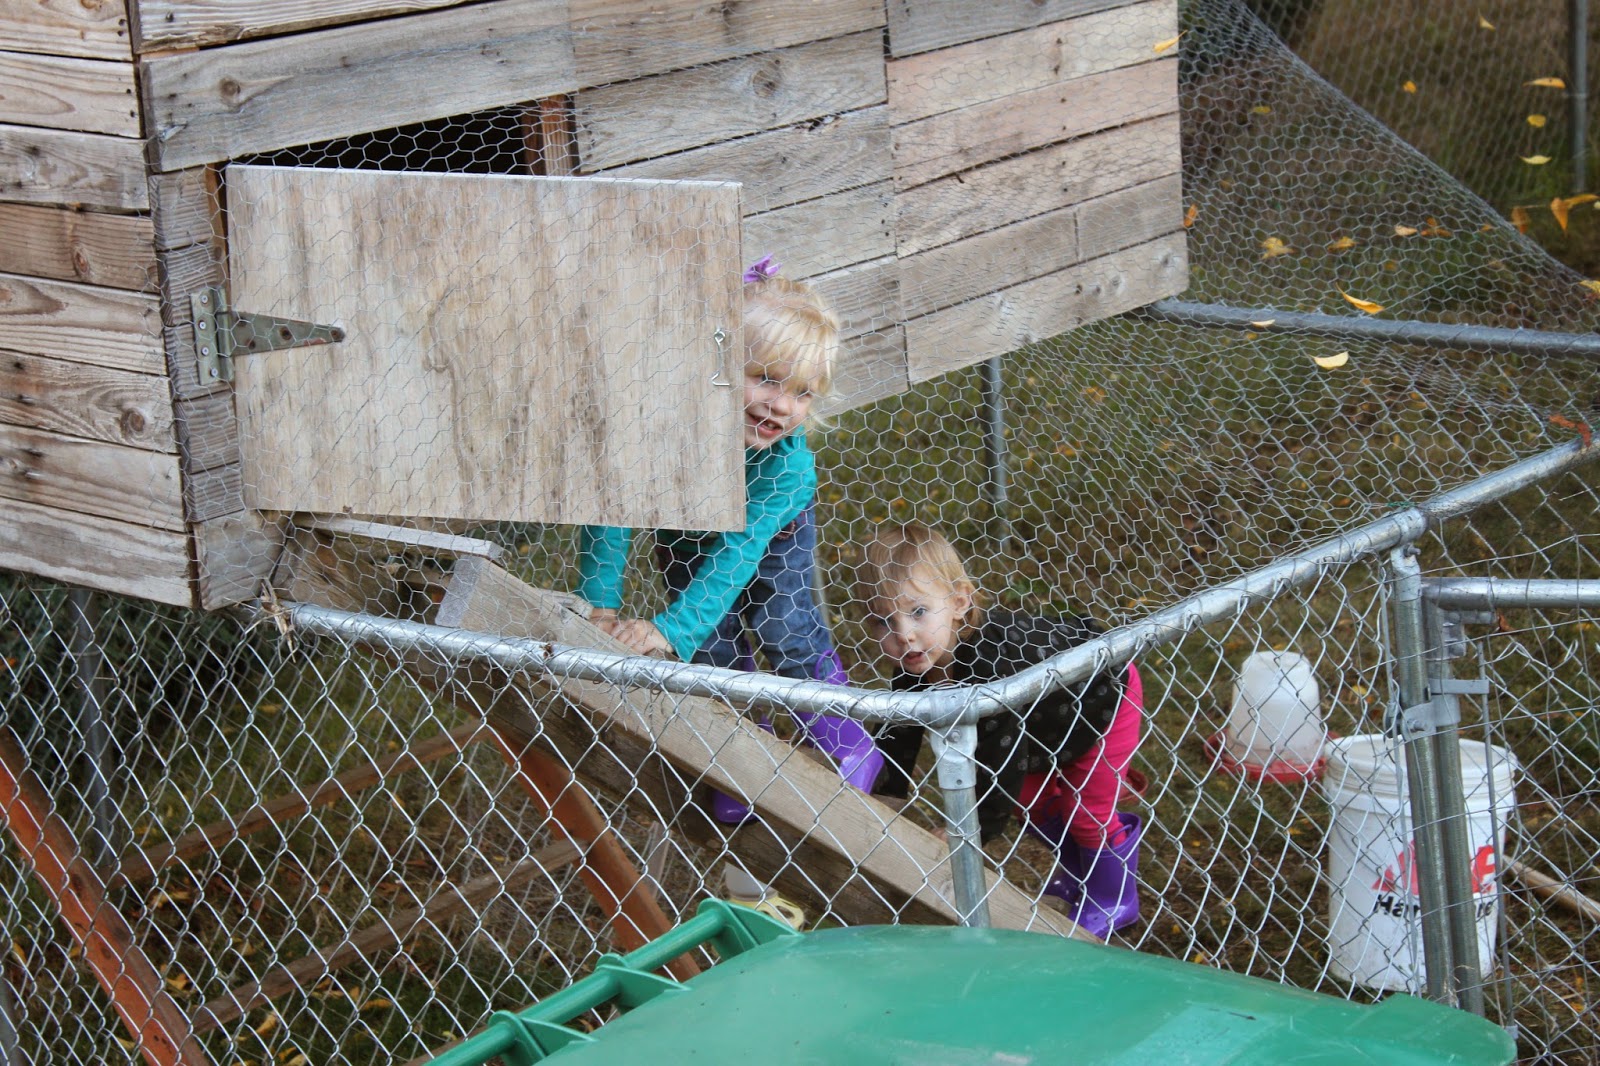
We only had 4 hens at that point in our venture, so an enclosed space was nice, and the previous residents in our home left this nice sized dog kennel, which provided elevation for our birds and the enclosure we desired. However, you do not have to elevate yours as we did, I would recommend 8 inches so that it is off the ground during rainy weather, but space enough to make it drafty and unappealing to vermin and giving your cleaning shovel space to scoop out the junk, all while providing the ground underneath it a breather, because you will want to move it! Penned chickens ruin the ground, which is why we let ours free-range most of the time!

So your first task is to collect as much wood as you can, you can return what you don't need, or burn the excess! Most of our wood was nailed together, so we worked hard to pull out all of the nails, sometimes sawing them off if they were stubborn, in order to free the planks on the pallet! Now take the sturdy frame of the once-pallet and use those 2x4s to make your own frame! Box shaped bottom, bracer in the middle, then upright posts at every corner and middle, but make sure one side is taller than the other by 6 inches to allow for a slanted roof to properly shed rain. Frame out the top as you did the bottom. Then take all of the blanks you removed from the pallets and use them to make a floor (unless you found sheets of plywood in someone's free bin, that would be lighter and better!) and walls, and roof. Use a nailgun to make this process faster! There will be some holes in between the boards, but try to get them as tight as possible, my chickens did not mind through the winter, and honestly I think a little fresh air kept them happier. I always made sure that they were toasty and cozy through the coldest days! For the back of the coop, we used a sheet of plywood that opened on a hinge, and hooked closed at both ends at hook and eye loops. Then you can clean it out and collect eggs easily. Don't forget a door, which is also easily made of plywood, hinge, and hook and eye closure!
These are the model plans we used to base out pallet coop off of! Since Brandan works at a sheet metal company, he was able to snag a piece of corrugated sheet metal for the roof, but you could use corrugated plastic for a cheaper option, or scout any metal manufacturer's recycle bin! For more plan details, click here, otherwise we used just the basic dimensions and replicated what we could.


A simple addition is feeder houses, which are useful for keeping food and oyster shells dry. They are simply made, and even the kiddos can help decorate!


This coop was free aside from the hinges and hook and eye closures. You might accrue a little more, but scout craigslist for awesome chicken run fencing, or any scrap wood if you don't have any free wood recycling bins nearby!
Happy henning!!!
Happy henning!!!
This post is awesome!
ReplyDeleteWhy thank you! ^_^
DeleteIt almost makes me want to get chickens! Too bad we leave so much! These pictures definitely make me want to visit my beautiful grand daughters!
ReplyDeleteHaha, it's kind of a two-fer! Great money-saving tips, and pics of the girls! Can't lose!!!
Delete